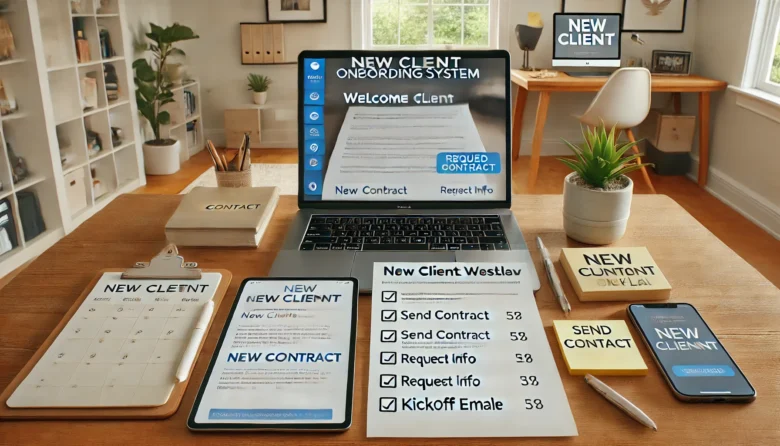
Landing a new freelance writing client is exciting—but without a proper system in place, that excitement can quickly turn into chaos. Endless back-and-forth emails, confusion about expectations, missing information… it adds up fast.
That’s where a solid client onboarding system comes in. It helps you look professional, stay organized, set clear boundaries, and save hours of time—every single time you bring on a new client.
In this article, you’ll learn how to build a smooth onboarding process that impresses your clients and keeps your freelance business running efficiently.
Why Client Onboarding Matters
A strong onboarding system does more than just collect information. It:
- Creates a great first impression
- Sets expectations and boundaries
- Reduces miscommunication
- Speeds up the time from “yes” to “done”
- Makes you look like a pro (even if you’re just starting)
Most importantly, it builds trust—and trust leads to repeat business.
Step 1: Create a New Client Welcome Email Template
After a client agrees to work with you, your first step should be a warm, clear welcome message.
What to include:
- A thank-you message and excitement for the project
- A summary of what happens next
- A link to your intake form or questionnaire
- Payment or contract info (if not already sent)
- Your availability and response time
- Call to action: what they should do now
Example:
Hi [Client Name],
I’m thrilled to start working together! To get everything rolling smoothly, here’s what comes next…
[List of 3–5 clear steps]
Let me know if you have any questions—I’m here to help!
Best, [Your Name]
You can reuse this email for every new client with minor tweaks.
Step 2: Use an Intake Form or Questionnaire
Instead of gathering details over multiple emails, create a simple intake form to get everything you need upfront.
You can use:
- Google Forms
- Typeform
- Notion
- Dubsado or HoneyBook (for full CRM setups)
What to ask:
- Brand voice or tone preferences
- Target audience details
- Main goals for the project
- Examples of content they like
- Keywords, topics, or competitors (if relevant)
- How they prefer to communicate (email, Slack, etc.)
This makes you look organized and thoughtful from day one.
Step 3: Have a Clear Contract or Agreement
Always use a contract or service agreement to protect yourself and your client.
Include:
- Scope of work
- Timeline and deadlines
- Payment terms (amount, method, due dates)
- Revision policy (how many, when)
- Late fee clauses if needed
- Rights usage (who owns the content after payment)
You can use tools like HelloSign, Bonsai, or even a signed PDF via email.
It doesn’t need to be fancy—it just needs to be clear and fair.
Step 4: Set Up a Project Kickoff Process
Once the paperwork is done, give your client a brief kickoff message or document outlining:
- What you’re working on first
- Deadlines and what they can expect
- Communication rhythm (updates, check-ins)
- Your availability (business hours, days off)
- What you need from them (assets, logins, brand guides, etc.)
This avoids confusion and reduces unnecessary messages later.
Step 5: Create Reusable Templates and Checklists
Make your life easier by turning every part of your onboarding process into repeatable templates.
Checklist ideas:
- Sent welcome email
- Received signed contract
- Received intake form
- Added client to calendar/project board
- Confirmed deadlines and deliverables
- Sent kickoff message
You can manage this in:
- Trello
- Notion
- ClickUp
- A simple Google Doc
You’ll feel more in control—and look like a total pro.
Step 6: Automate Where It Makes Sense
You don’t have to automate everything, but smart automation can save you tons of time.
Options:
- Use a scheduling tool like Calendly to book intro calls
- Create auto-responders for inquiries with next steps
- Set reminders for client follow-ups
- Use CRM tools to trigger contracts or emails after intake
Start simple. Even one or two automations can reduce your admin workload.
Step 7: Make It Easy to Pay You
Don’t wait until after the work is done to figure out payment.
Set up a professional, convenient payment method, such as:
- PayPal
- Stripe
- Wise (for international clients)
- Direct deposit
- Invoicing software like FreshBooks, Bonsai, or Wave
Always invoice promptly and professionally, and include:
- Your name/business name
- Project name
- Payment details
- Due date
- Late fee reminder (if applicable)
Clear payment processes = faster payments.
Step 8: Track Every New Client
Once the project begins, add the client to your tracking system.
Track:
- Project scope
- Deadlines
- Payment status
- Contact info
- Notes or preferences
This lets you stay organized and prepared for ongoing work or referrals.
Final Thoughts: A Smooth Onboarding Experience Builds Loyalty
Freelance writing isn’t just about writing—it’s about running a smooth client experience. A well-structured onboarding system not only saves you time, but it builds trust, sets expectations, and lays the foundation for repeat work.
Clients remember how you make them feel at the beginning of a project. Make it easy, make it clear, and make it professional.
Now go create your welcome email template, your intake form, and your checklist—and turn first-time clients into raving fans.


