Freelance writing often involves juggling multiple projects, clients, and deadlines—all at once. If you’re not careful, things can get chaotic fast. That’s where Kanban and Trello come in: together, they create a powerful system to help you organize your workflow visually and efficiently.
In this article, you’ll learn how to set up a Kanban system using Trello to streamline your freelance writing process from pitch to payment.
What Is Kanban?
Kanban is a visual project management method that originated in Japanese manufacturing. Today, it’s widely used in creative and tech industries to help teams (and individuals) improve task flow and efficiency.
The concept is simple:
- Visualize your work
- Limit work-in-progress
- Focus on task movement from left to right
In a Kanban board, tasks move across columns like:
- To Do → In Progress → Editing → Delivered
This helps you see what stage every project is in—at a glance.
Why Trello Is Perfect for Kanban
Trello is a free, user-friendly tool that lets you create Kanban-style boards. Each board contains:
- Lists (your columns, like “To Do” or “In Progress”)
- Cards (individual tasks or articles)
- Labels, due dates, checklists, and attachments
Trello’s drag-and-drop interface makes it easy to update your board as work progresses.
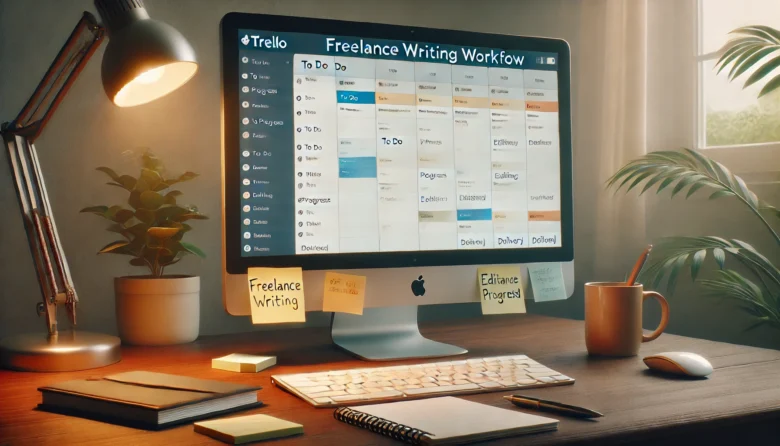
Step-by-Step: Set Up a Kanban Board in Trello for Freelance Writing
Step 1: Create a New Board
Log into Trello and click on “Create New Board.” Name it something like Freelance Writing Workflow or Client Projects.
Choose a background that keeps you focused—nothing too flashy.
Step 2: Set Up Your Lists (Columns)
Here’s a simple Kanban setup for freelance writers:
- Ideas – Blog post topics, client pitch concepts, etc.
- Pitched – Ideas you’ve submitted to clients or publications
- To Do – Approved projects waiting to be written
- In Progress – Articles you’re currently working on
- Editing – Drafts that need review or revisions
- Delivered – Completed work sent to clients
- Paid – Projects for which you’ve received payment
You can customize this to fit your workflow. For example, add a column for Scheduled if you also manage content calendars.
Step 3: Add Cards for Each Writing Task
Each article, blog post, or assignment gets its own card. On each card, you can:
- Add a description (e.g., brief, word count, deadline)
- Attach research docs or client files
- Set due dates
- Add labels (e.g., client name, topic, priority)
- Create checklists for multi-step tasks (e.g., research, write, edit, submit, invoice)
Step 4: Use Labels to Stay Organized
Trello’s labels are color-coded tags that make it easier to categorize your cards. Some ideas:
- Red = Urgent
- Yellow = Ongoing
- Green = Completed
- Blue = Blog content
- Purple = Client work
This allows you to scan your board quickly and know what’s what.
Step 5: Move Cards Through the Workflow
As you progress, drag each card across the lists. This visual movement helps you track the lifecycle of a task and prevents you from overloading yourself with too many open tasks at once.
For example:
- You brainstorm a blog idea → it goes in Ideas
- You pitch it to a client → it moves to Pitched
- Once accepted → it goes to To Do, then In Progress, etc.
Bonus Tips for Freelance Writers Using Trello
1. Use Trello for Editorial Calendars
Create a separate Trello board to plan your monthly blog or content calendar. Use labels for content types (SEO, storytelling, guest posts) and schedule cards using the built-in calendar power-up.
2. Automate with Butler (Trello Automation)
Trello has a built-in automation tool called Butler. Use it to:
- Move cards automatically when a checklist is completed
- Archive old cards after 30 days
- Set reminders or due date notifications
This reduces the manual effort of maintaining your board.
3. Collaborate with Clients or Teams
If you work with other writers or clients, invite them to your board. You can assign cards, comment on tasks, and share progress in real-time—no messy email chains needed.
4. Keep a “Done” List for Motivation
Sometimes it’s satisfying to look back and see how much you’ve accomplished. Keep a list called Completed or Done This Month where you drag cards after final delivery or payment. It’s great for your morale and for tracking income over time.
Final Thoughts: Mastering Your Workflow with Trello
Using a Kanban system with Trello can be a game-changer for freelance writers. It gives you structure without being restrictive, and clarity without clutter. Most importantly, it helps you focus on what matters: writing great content and growing your freelance business.
Don’t wait to feel “overwhelmed” before you organize your workflow. Set up your Trello board today and start working smarter, not harder.