Freelance writing isn’t just about writing. It’s about pitching, researching, invoicing, planning, and delivering—and doing all of that while managing multiple clients and projects. That’s a lot to juggle.
Enter Notion.
This all-in-one productivity app has become a favorite among freelancers for its flexibility and customizability. In this article, you’ll learn how to use Notion to manage every aspect of your freelance writing business—so you can stay focused, productive, and organized.
What Is Notion?
Notion is a workspace app that combines note-taking, databases, task management, and collaboration—all in one place.
It allows you to:
- Create pages and subpages
- Build databases and calendars
- Use templates for recurring tasks
- Link everything together seamlessly
It’s perfect for freelancers who want to build a customized system tailored to their workflow.
Why Notion Works So Well for Writers
- ✅ You can plan content, track clients, and store research in one place
- ✅ It eliminates clutter from scattered tools (Google Docs, Trello, spreadsheets)
- ✅ It supports rich content (text, links, checkboxes, calendars, tables, files)
- ✅ It’s clean, distraction-free, and adaptable to your style
Now let’s build your freelance writing hub inside Notion.
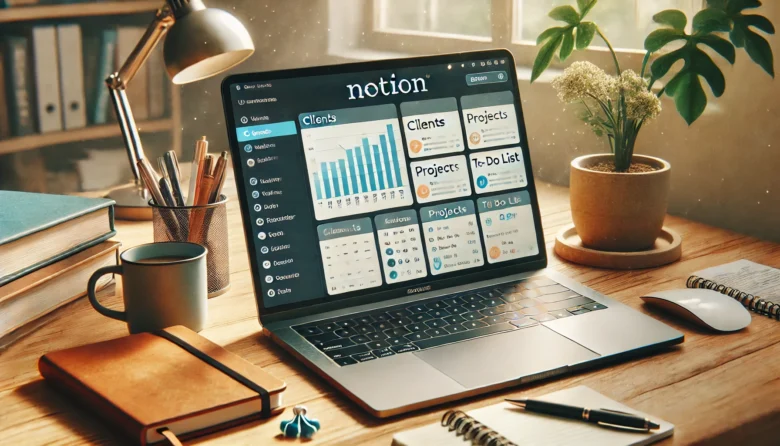
Step 1: Set Up Your Main Workspace
Create a page called “Freelance Writing Hub” or something similar. This will be your central dashboard.
Inside it, add subpages or sections for:
- 📁 Client Projects
- 📅 Content Calendar
- 📌 Task Manager
- 🧾 Invoices & Payments
- 🧠 Research & Resources
- ✍️ Personal Writing (Blog, LinkedIn, etc.)
Use emojis and toggle lists to make it visually appealing and easy to navigate.
Step 2: Build a Client Database
Create a table database to manage all client details in one place.
Here’s what to include:
- Client Name
- Contact Info
- Projects
- Status (Active, Paused, Completed)
- Payment Terms
- Notes (tone preferences, keywords, feedback)
You can link each client to their specific projects inside the table.
Step 3: Organize Your Writing Projects
Create another database for all writing assignments. Suggested fields:
- Title
- Client (linked to your client database)
- Type (Blog, Case Study, Email, etc.)
- Word Count
- Status (Idea, Writing, Editing, Delivered)
- Due Date
- Payment Status
Switch views between a table, calendar, or kanban board to manage your workflow visually.
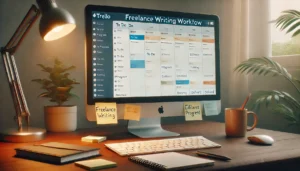
Step 4: Create a Content Calendar
Use the calendar view to plan:
- Client content
- Your own blog or social posts
- Draft deadlines
- Delivery dates
Color-code by project type or client to quickly scan your upcoming workload.
Bonus tip: Use recurring reminders to block time for brainstorming and writing.
Step 5: Track Tasks with a To-Do List
Use a task manager database or simple checklists for daily actions:
- Write outline for Client A
- Edit Client B’s article
- Send invoice to Client C
You can also create a Weekly Planning page where you drag tasks from your main list and focus only on what’s due that week.
Step 6: Store Research and Templates
Use pages inside Notion to:
- Save article ideas
- Paste client briefs or instructions
- Create reusable templates (emails, blog outlines, checklists)
- Store swipe files and quotes
Use the toggle list or linked pages feature to keep everything tidy.
Step 7: Manage Invoices and Payments
You can build a simple payment tracker table inside Notion.
Include:
- Invoice #
- Client
- Amount
- Issue Date
- Due Date
- Paid? (Yes/No)
- Payment Method
While Notion doesn’t integrate directly with payment systems, it’s great for tracking who owes what.
Step 8: Use Templates to Save Time
Once your system is in place, turn any page into a template.
Examples:
- Writing Brief Template
- Content Calendar Template
- Weekly Planning Template
- Client Onboarding Page
You’ll never have to start from scratch again.
Step 9: Keep Your Workspace Clean and Minimal
Don’t overcomplicate. Use minimal text, clear labels, and consistent formatting. The goal is clarity and ease, not complexity.
Set aside 15 minutes each week to tidy up your space, archive completed projects, and update your status boards.
Final Thoughts: Your Writing HQ, All in One Place
Notion isn’t just a productivity tool—it’s a workspace you design to fit your writing business.
With a few hours of setup, you can replace multiple apps with one clean, customizable system that helps you stay on top of everything. From pitches to paychecks, research to revisions, Notion keeps your freelance writing life in order—so you can focus on writing, not worrying.